Getting Started
View and manage your conversion actions within the RAC platform.
How it works
Step 1: Create a conversion action
To get started, go to Advertisers in the top menu and select Conversion Tracking from the dropdown.
Select Get Started to create a new conversion action.
General
Name your conversion action clearly, such as newsletter signups.
Optionally, add a description or notes to provide additional context for this action.
Choose the primary goal you’re tracking: a Lead, Click, Purchase, or View.
Measurement
Configure settings that affect how the conversion action is recorded and attributed.
Value: Decide how the value of conversions will be tracked.
- Fixed: Assign a fixed value to each conversion, such as recording only actions worth
$1or more. - Dynamic: Specify a value when sending a conversion to RAC; if not provided, a zero value will be recorded.
- None: Discard any value provided with the conversion. This option tracks the total number of conversions without recording earnings.
Count: Decide how many conversions should be counted per unique click or interaction.
- One: Track each new conversion. Ideal for goals like
purchases,clicks, orviews. - Every: Track one conversion per click. Best suited for goals like
leadsorsign-ups.
Window: Set the time period after a click during which conversions will be counted. Options include:
15 days30 days60 daysOther- Manually set a conversion window by specifying the number of days after a user selects your ad.
To confirm your settings, select Create at the bottom right.
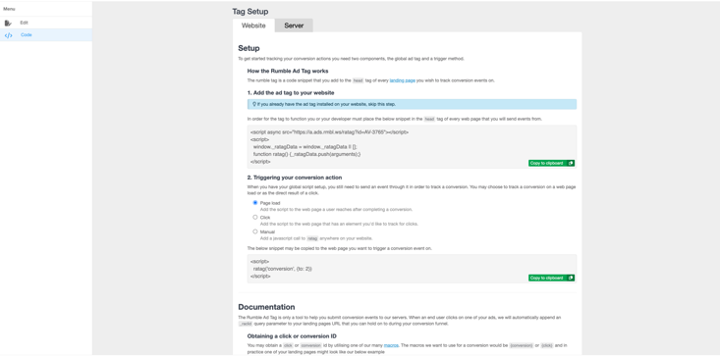
Step 2: Implementing the code
After creating the conversion action, you will be provided with documentation outlining how to implement the tracking code on your website.
Follow the instructions carefully to ensure accurate tracking.

If you have any questions or need assistance, contact our Help Desk.